

 English
 中文简体
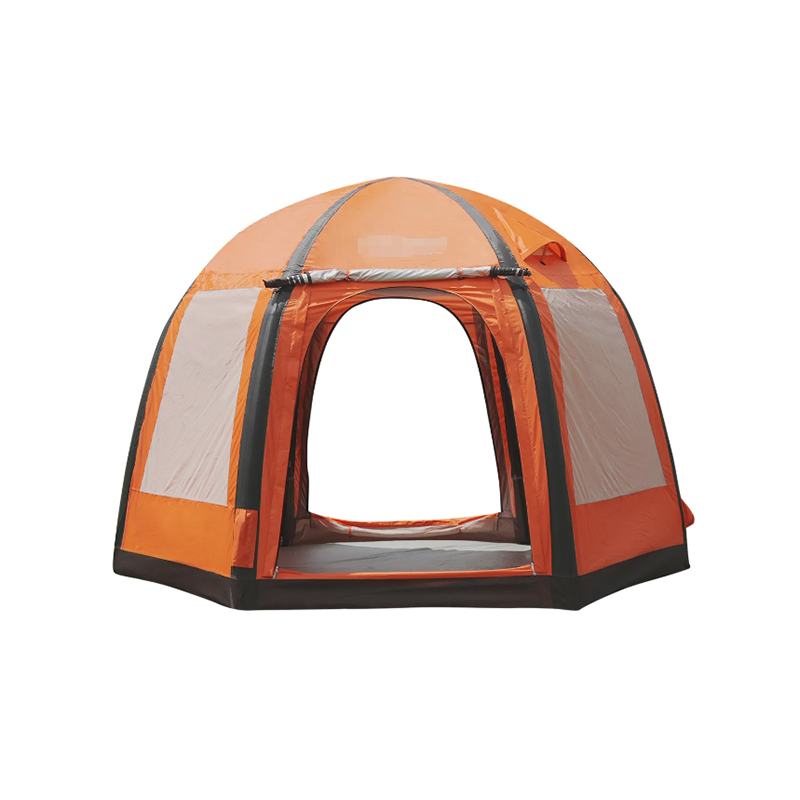
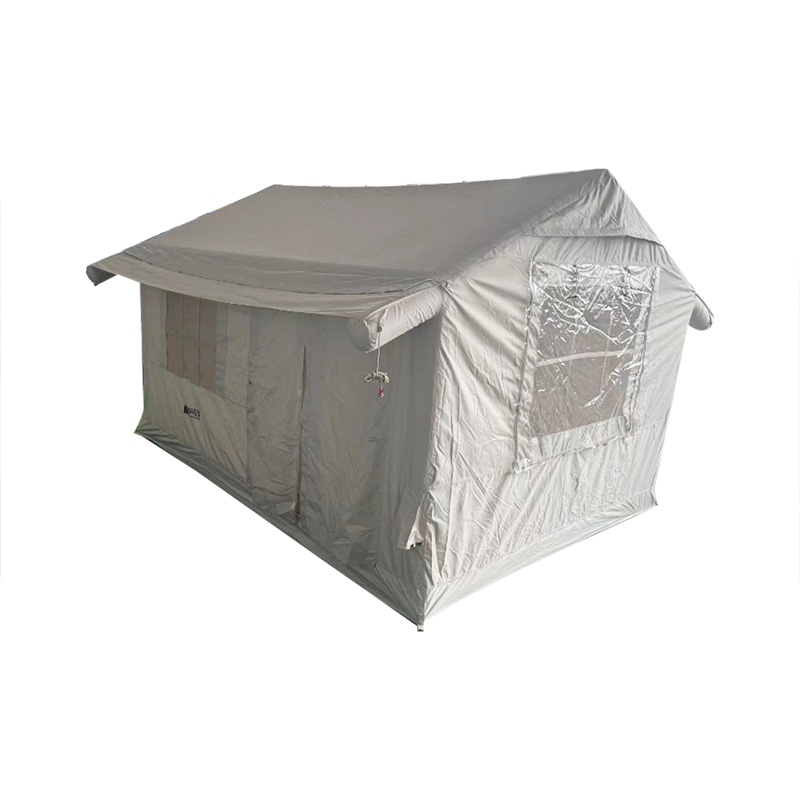
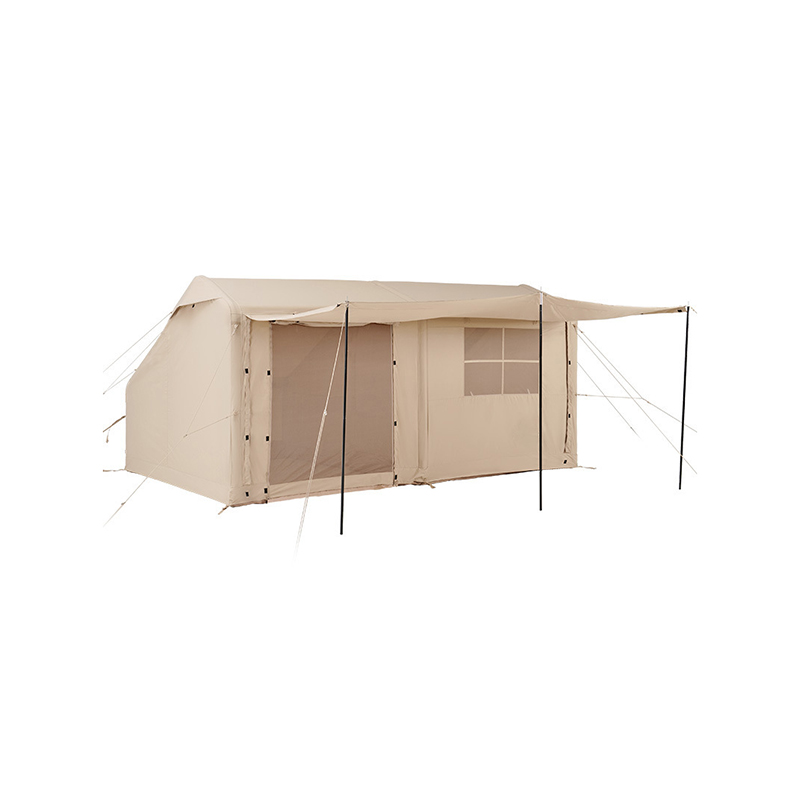
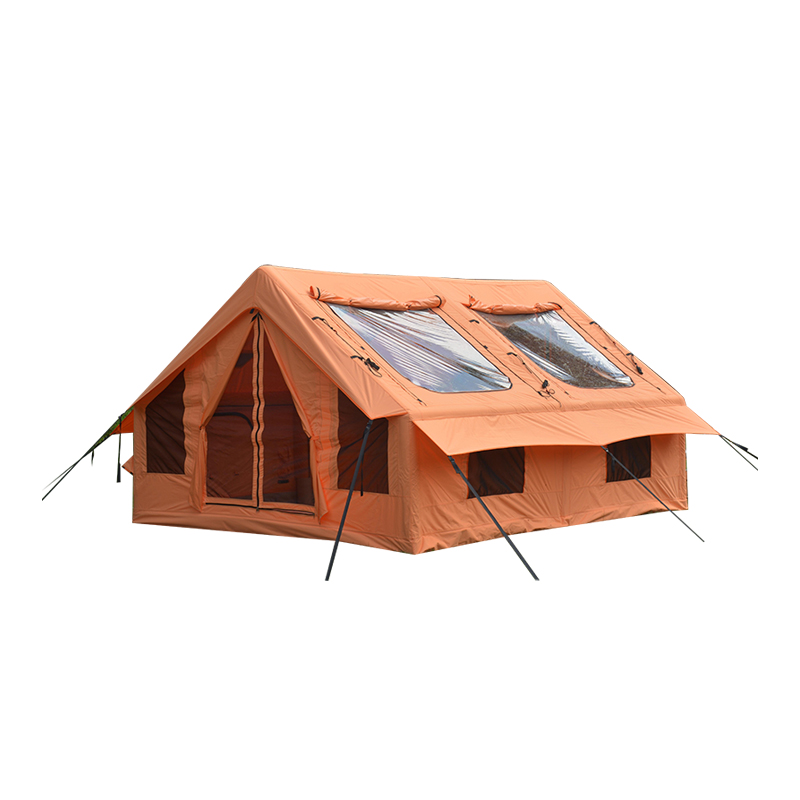
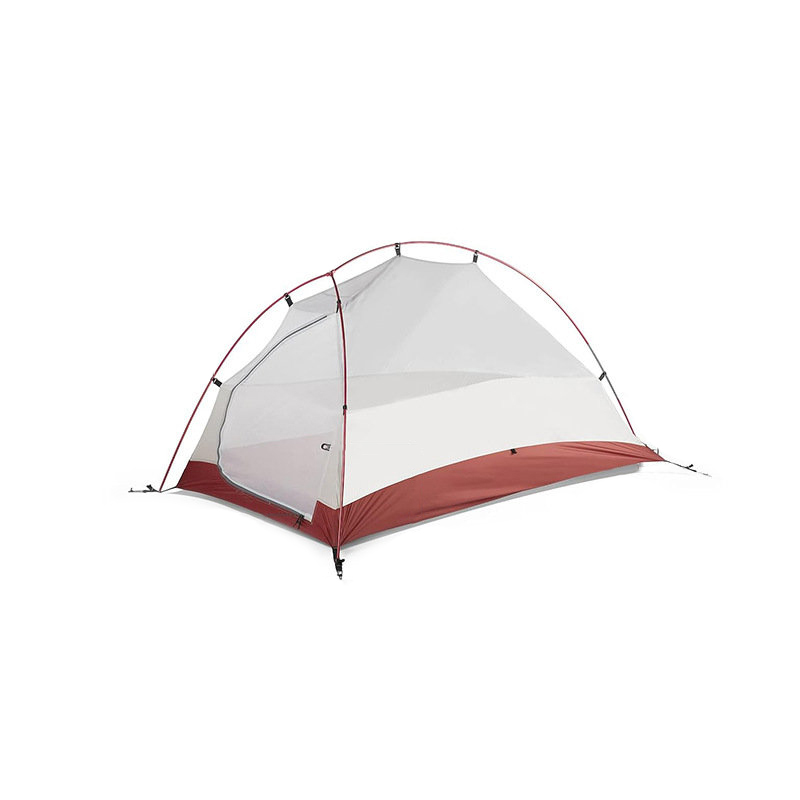
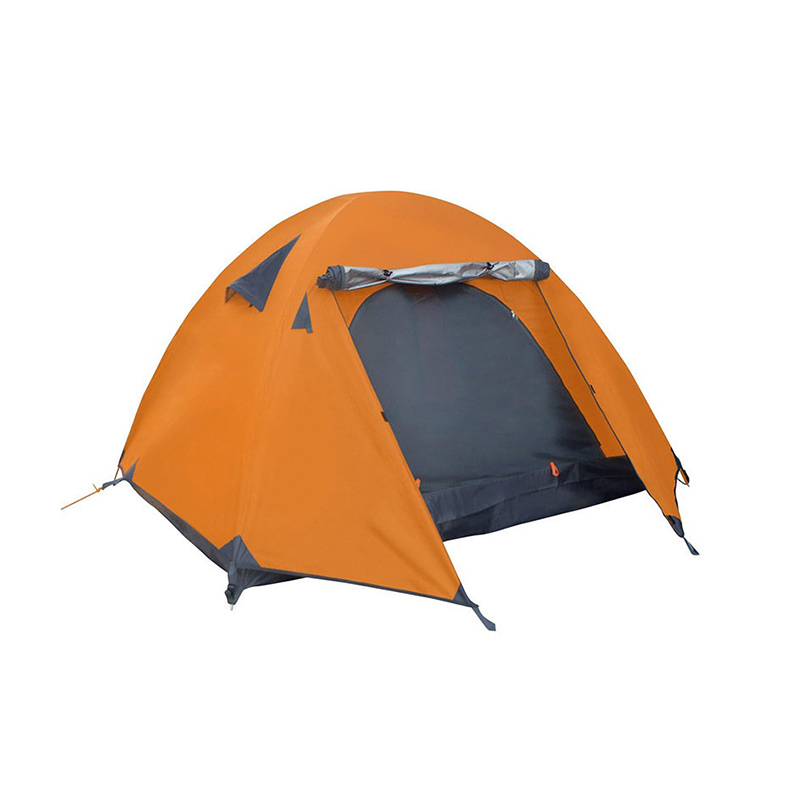
中文简体Hemispherical Inflatable Tent 2 Doors 4 Windows

At two in the morning, rain has a way of finding the one untreated spot. A cold drop lands on your forehead, then another, and by daylight your sleeping bag is damp. In more than fifteen years of building tents for family campers, event operators, and outdoor brands, I have watched that scene repeat itself.
The mistake is treating waterproofing as a factory specification instead of a maintenance task. Every tent leaves the factory dry; every season of ultraviolet light, ground friction, and accumulated dirt erodes that protection. The real question is not whether your tent is waterproof, but when it was last cleaned, sealed, and tested.
A waterproof tent is not a one-time purchase. It is a condition you restore on a schedule.
This guide covers the full process in the order that works: understanding what waterproof means on a tent, cleaning it, sealing the seams, restoring the outer finish, protecting the floor, and testing the result. If you are buying instead of repairing, the same principles help you pick a tent that stays dry for years rather than weeks.
A tent sheds water through three surfaces, and each one wears out on its own timeline. Identifying the failing layer turns a panic re-coating into an exact repair.
The fly carries two jobs. A durable water repellent (DWR) finish on the outside makes rain bead up and roll off, while a polyurethane coating on the underside stops the water that does wet through. The number worth comparing is hydrostatic head — the height of a water column the fabric can hold before soaking. At 1,500 mm you have a light-weather shelter; at 3,000 mm and above you have a tent that can sit through an overnight storm. That is why factory-taped camping tents are the right starting point.
The floor carries the heaviest coating because it presses against damp ground all night. It fails by abrasion rather than age: grit and small movements grind the film thin until moisture seeps up from below.
Every line of stitching is a line of needle holes through the fabric, and the fastest route for water to enter. A quality tent arrives with taped or otherwise sealed interior seams, and this detail more than any other separates a sprinkle-proof shelter from a storm-proof one.
| What you notice | Most likely cause | Action |
|---|---|---|
| Rain soaks into the fly instead of beading | Worn DWR finish | Clean and reapply DWR |
| Drops appear along the stitching during rain | Seam sealing has failed | Re-seal the seams |
| Floor stays damp even on dry ground | PU floor coating worn thin | Treat the floor and add a groundsheet |
| Moisture on inner walls only, no drips | Condensation | Open the vents; this is not a leak |
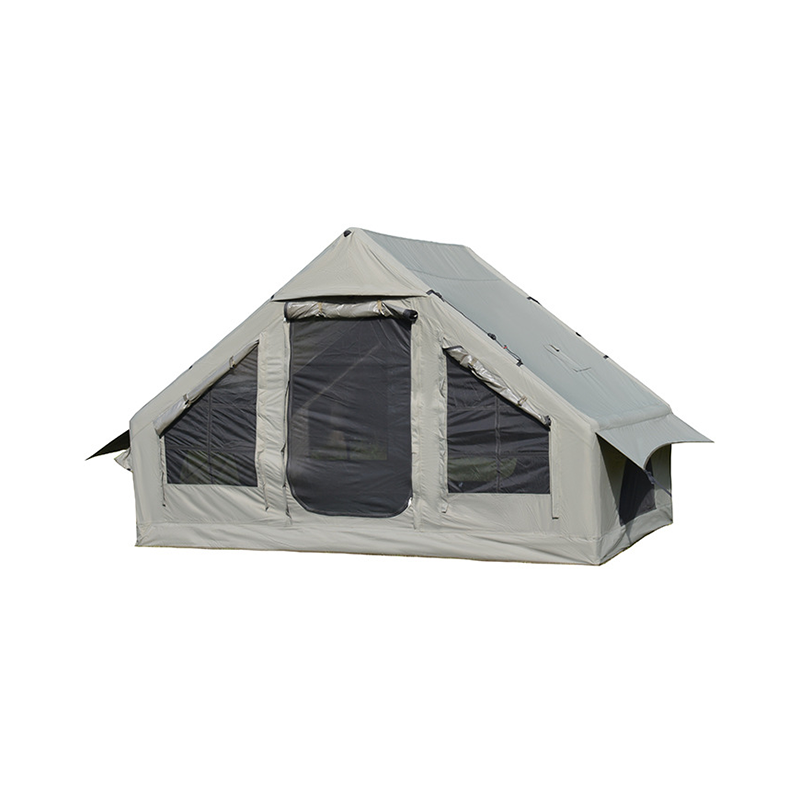
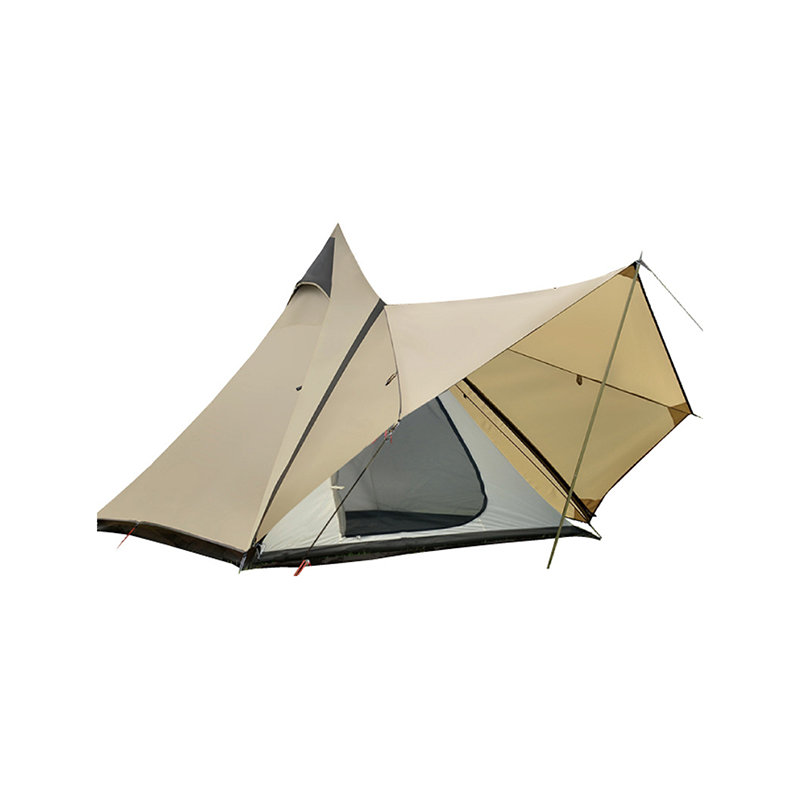
 Lightweight Rainproof Pyramid Camping TentFeaturing a breathable 190T cloth shell and a lightweight manual setup, this rainproof pyramid tent is a practical choice for campers prioritizing seam integrity and clean surfaces before waterproofing.View Product →
Treatments do not bond to dirty fabric. Dust, pollen, body oil, and invisible smoke residue sit in the weave and block every sealer or DWR spray you apply on top. Most waterproofing failures are cleaning failures.
Seam sealing is the highest-leverage step in this entire process. A stitched seam can drip long before the fly fabric shows any wear, because the flexible coating on the thread flexes, dries, and cracks with every season.
If your shelter is an inflatable or air-frame model, the air columns themselves need no treatment at all, but the sewn fly and floor seams follow exactly the same rules.
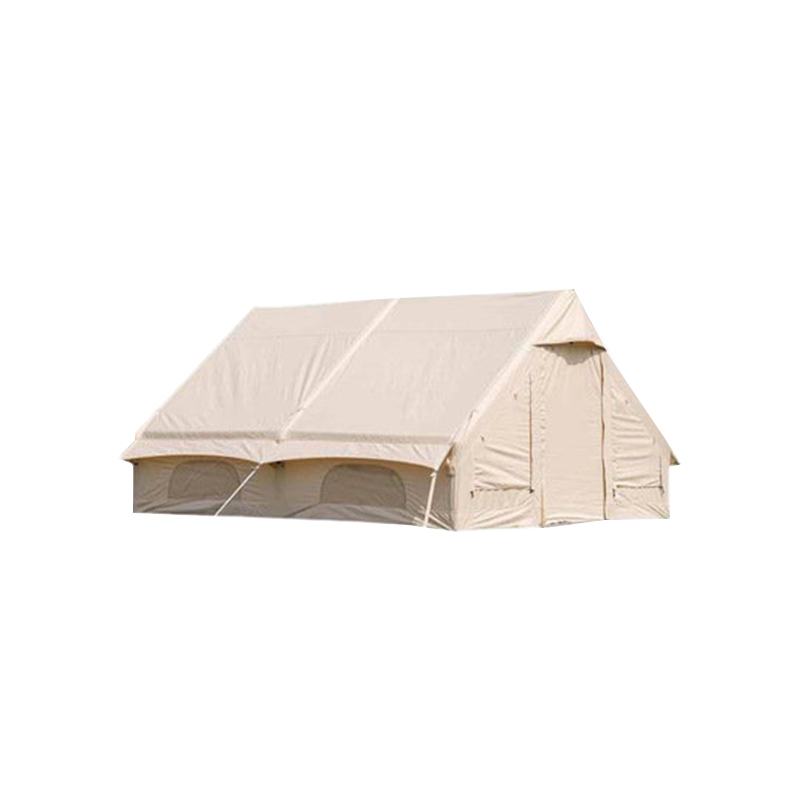
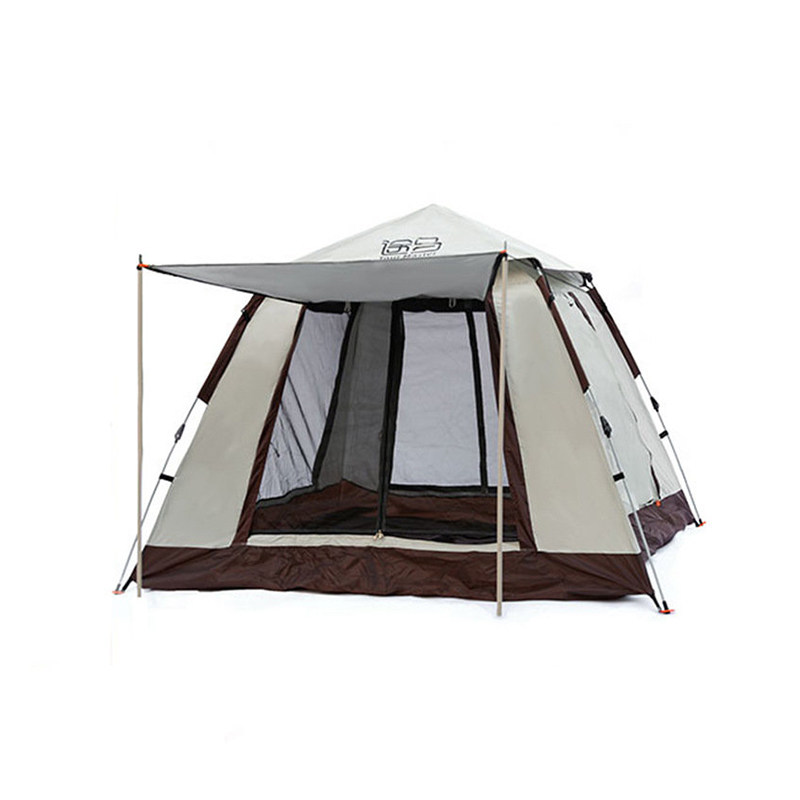
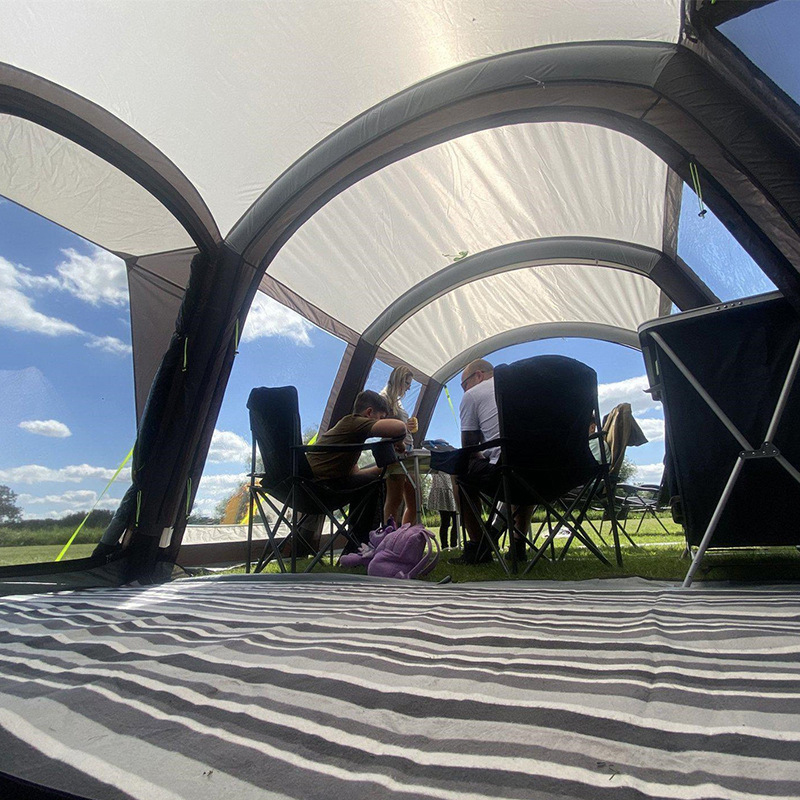 Six-Person Inflatable Family TentWith a multi-point air column frame and sealed ground mat, this six-person inflatable tent prioritizes seam and floor protection while offering flexible room layouts and large windows for a comfortable family camping experience.View Product →
The DWR is what makes rain bead and roll away instead of soaking into the fabric and wetting the tent out. Once the finish dulls, water sits on the fly in a broad sheet, the tent becomes heavier and colder, and it sweats even when every seam is sound.
This is a yearly habit, not an emergency. If the fly still beads well, skip the re-treatment; an extra layer of DWR only stiffens the fabric.
The floor is the last surface anyone treats and the first one to touch a puddle. Its coating wears where the fabric meets grit and shifting weight, so protect it before the seeping begins.
Seal the edge seams where the bathtub floor joins the walls, then apply a thin coat of PU-compatible floor sealer to the interior. In camp, lay a lightweight groundsheet underneath the tent; it absorbs the friction and grit that would otherwise grind the coating thin. A tent with a reinforced, well-finished floor stays waterproof for many more seasons.
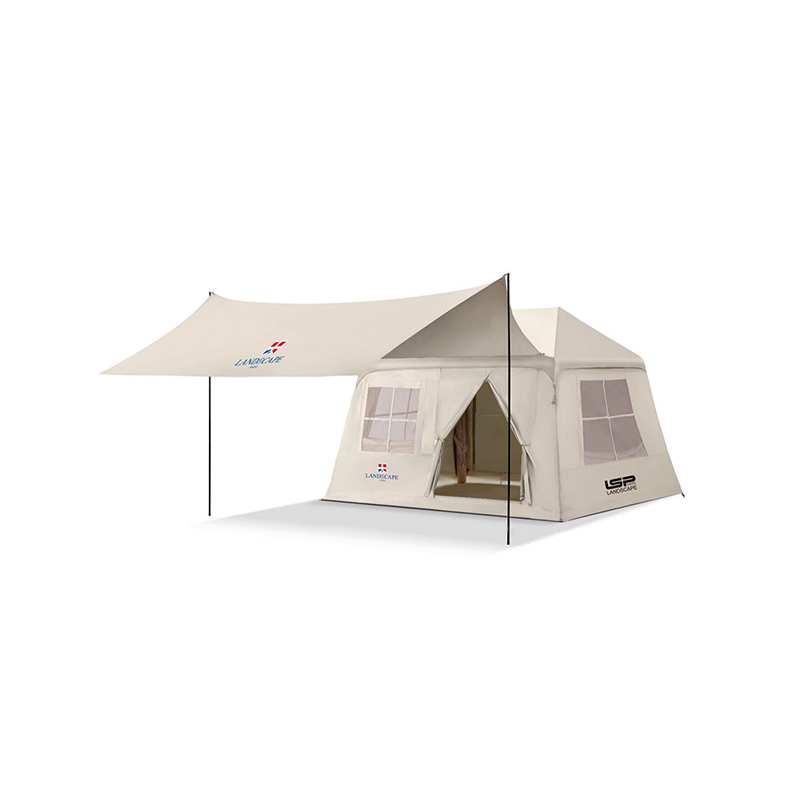
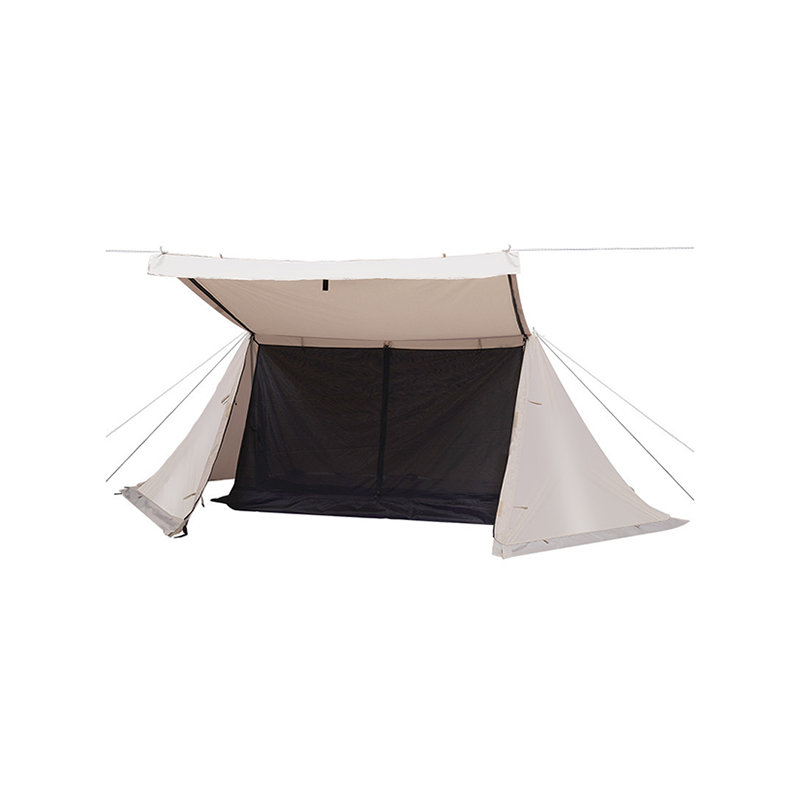
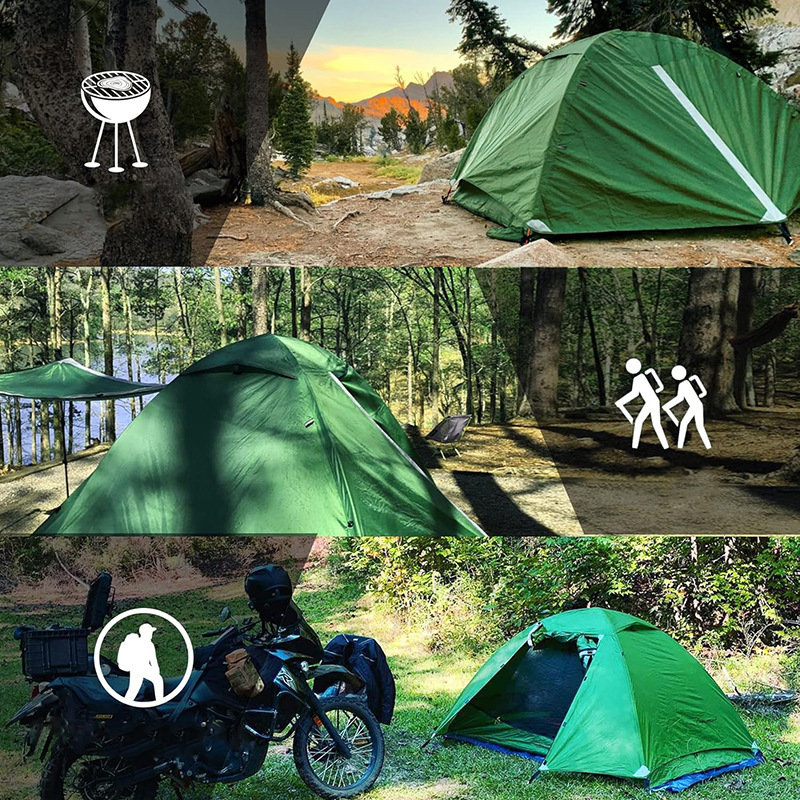 Outdoor Four Seasons Universal Hiking TentWith a moisture-proof base and double-layer waterproof construction, this four-season hiking tent aligns with the focus on floor sealing and clean surfaces, and its lightweight quick-setup design makes it ideal for multi-day treks.View Product →
The best time to find a leak is the afternoon before the trip, not the first wet night. A garden hose simulates a storm far more gently than the real thing.
Tents do not leak because they are old; they leak because maintenance lost the race against time. A few fixed checkpoints keep all three layers ahead of the weather.
| When | What to do |
|---|---|
| Before the first trip of the season | Inspect, clean if needed, and run the hose test |
| Every one to two years, when beading fades | Restore the DWR finish on the fly |
| Every two to four years | Re-seal the seams after inspecting for cracks |
| After every wet trip | Air-dry completely, brush out debris, pack loosely |
| End of the season | Full clean, sealing touch-ups, then loose dry storage |
Storage is half of waterproofing. Pack the tent loosely rather than crammed into its stuff sack, keep it away from damp basements and prolonged direct sun — ultraviolet light is the quiet killer of fabric and coatings alike. The same habits apply to a lightweight hiking shelter or a large inflatable family tent, because water attacks every tent at the same three points.
Waterproofing a tent is a three-surface job — fly, seams, floor — done in the right order, on a schedule, before the clouds arrive. When the DWR beads, the seams hold, and the floor stays dry beneath a pounding night, a tent becomes what it was always meant to be: the quiet place where the weather stays outside.
The rain will come again. Whether it stays outside your tent was decided weeks earlier, by one afternoon of cleaning, an hour of sealing, and the discipline of drying everything before you pack it away.