

 English
 中文简体
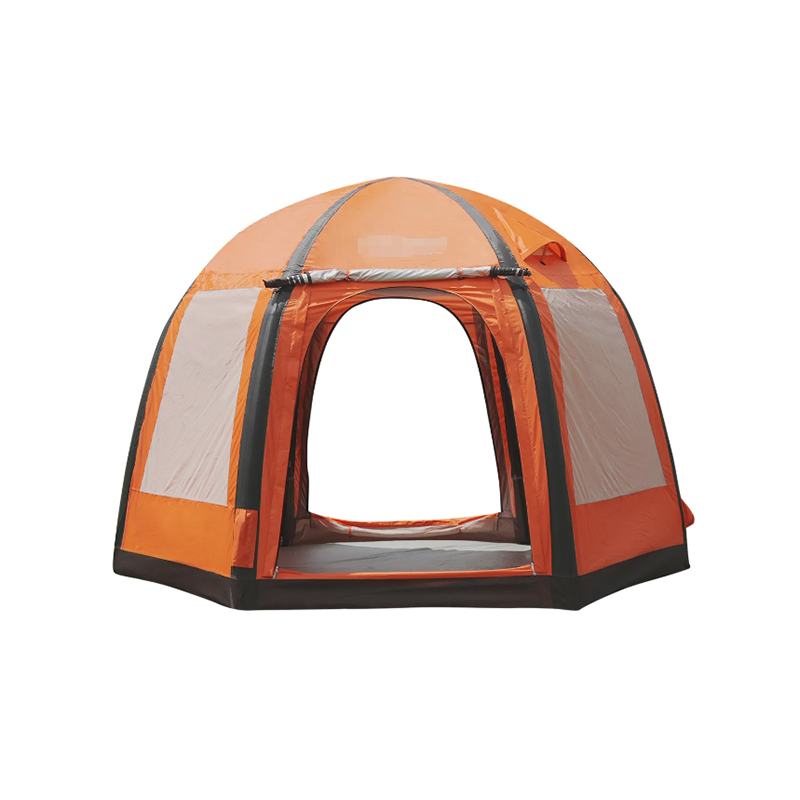
中文简体Hemispherical Inflatable Tent 2 Doors 4 Windows

Outdoor Skills — Camping Fundamentals
The right campsite location comes down to five non-negotiable factors: flat, well-drained ground, safe distance from water and dead trees, protection from wind, morning sun exposure, and compliance with local camping regulations. Get these five right and almost any tent — from a compact camping tent 2 person setup to a larger family shelter — will perform well overnight.
Before anything else, walk the potential site and check how it feels underfoot. A good tent pad should be firm, level, and free of sharp debris. Ground that slopes more than a few degrees will send you sliding toward the low end of the tent all night, and uneven rocky patches can puncture the tent floor or bruise your back through the sleeping pad.
If you're carrying an inflatable camping tent, ground quality matters even more. These tents rely on air-filled beams rather than rigid poles, so any sharp stone or stick under the base can wear against the material and eventually cause an air leak. Always clear the site with your hands or a small brush before laying down your groundsheet, and consider a footprint tarp as an extra layer of puncture protection.
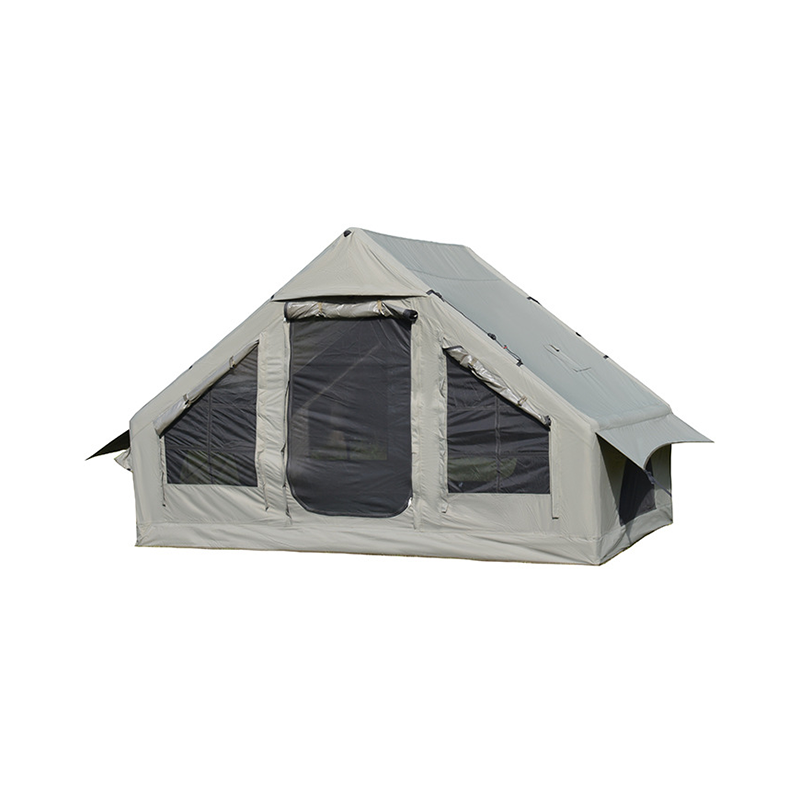
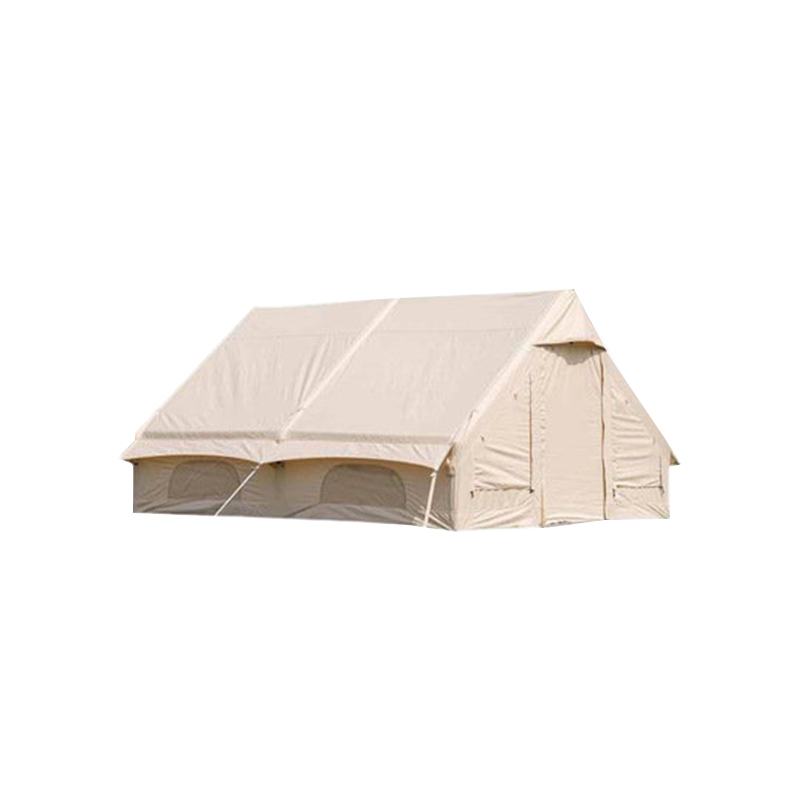
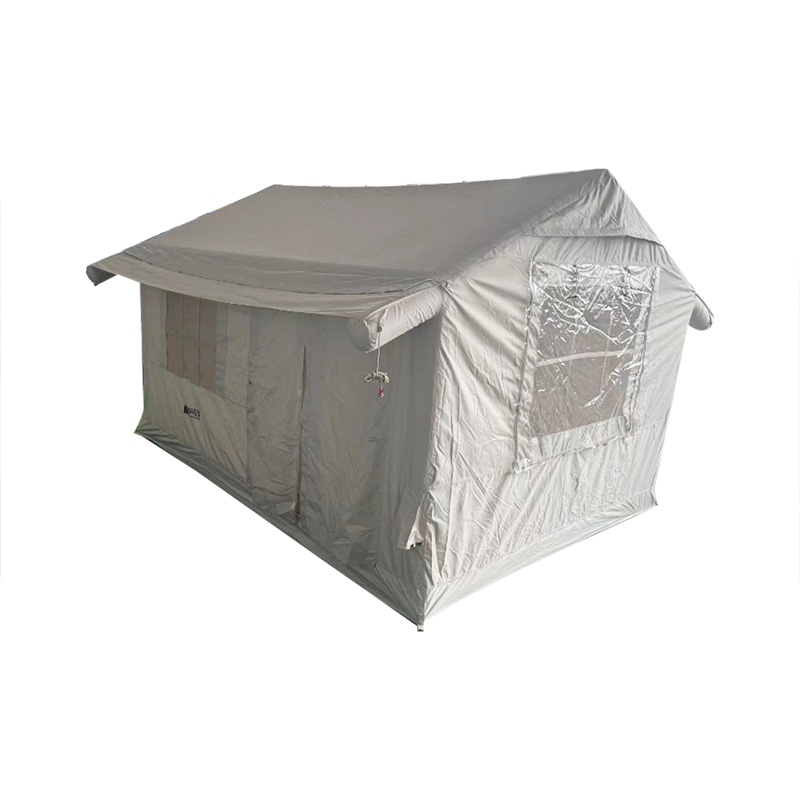
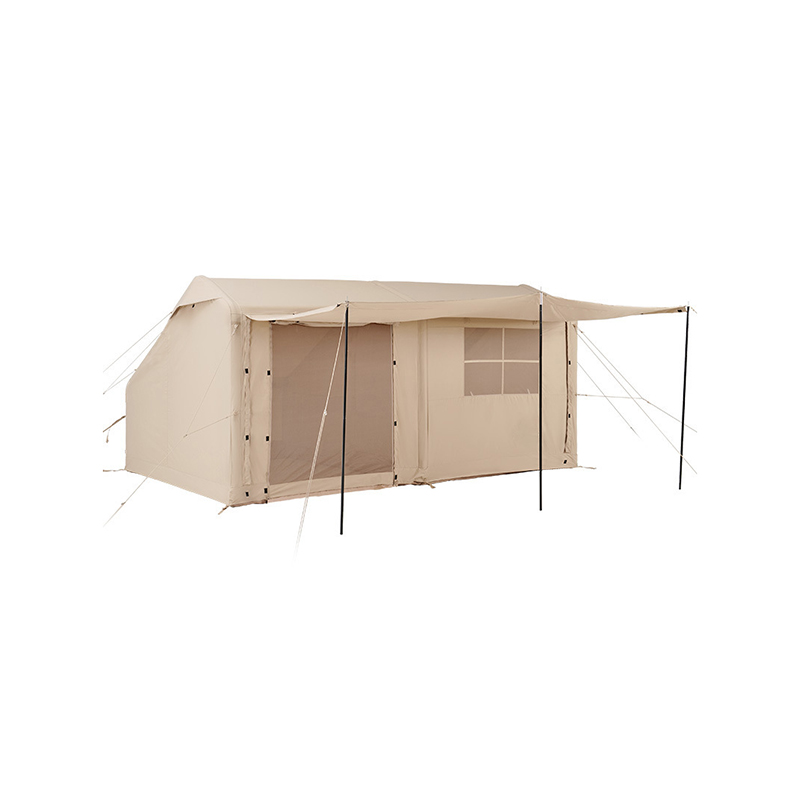
inflatable camping tent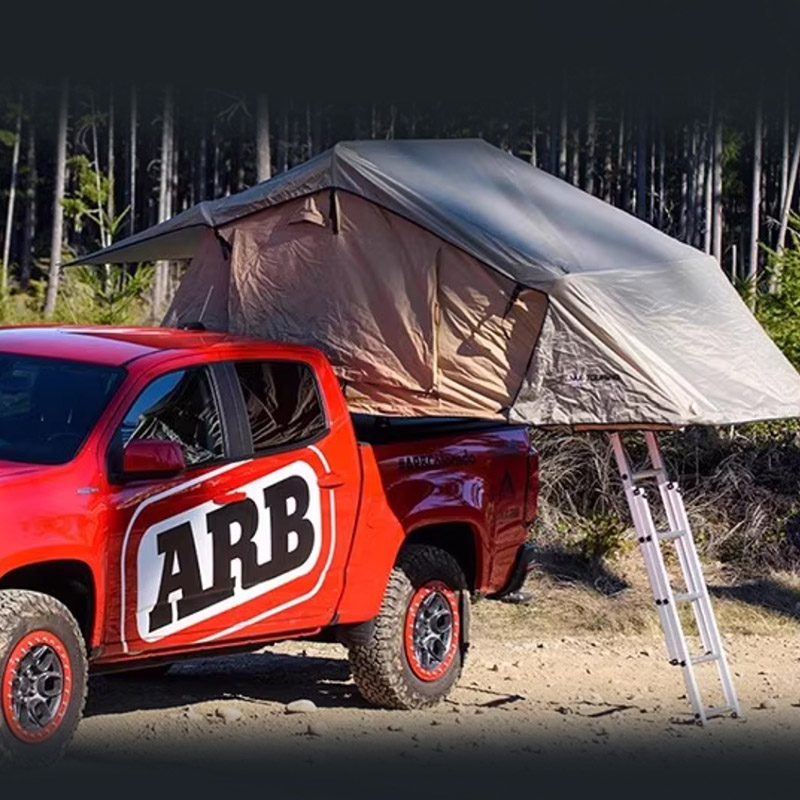
It also helps to test the ground with a simple hand press before fully committing to a spot. Kneel down and press your palm firmly into the soil across several points where the tent floor will sit. If you feel obvious lumps, buried roots, or shifting softness, move a few feet in another direction rather than trying to force the tent to fit. This small habit takes less than a minute but saves you from discovering an uncomfortable rock under your hip at midnight, long after the tent is fully staked and the rainfly is buttoned up.
Water is the single biggest threat to a comfortable night outdoors. Even a light overnight rain can turn a low-lying campsite into a shallow pool if drainage is poor. Look for slightly raised ground rather than the lowest point in a valley or the center of a clearing, since water naturally collects there.
Most land management agencies and backcountry guidelines recommend camping at least 200 feet (about 60 meters) away from lakes, rivers, and streams. This distance protects fragile shoreline ecosystems, reduces the chance of flash flooding reaching your tent, and keeps you out of the path of nighttime wildlife visiting the water source. Even with a fully waterproof camping tent, proximity to water increases humidity inside the tent and raises the risk of condensation soaking your gear from the inside out.
Dry creek beds are deceptive — a storm miles upstream can send a flash flood through in minutes, and by the time you hear the water coming, it's often too late to move.
Also avoid dry creek beds, no matter how tempting the flat, sandy ground looks. A storm miles upstream can send a flash flood through a dry wash in minutes, and by the time you hear the water coming, it's often too late to move.
Elevation affects both temperature and wind. Valley bottoms trap cold air overnight, often dropping temperatures 5 to 10 degrees Fahrenheit lower than a site just partway up a slope. On the other hand, exposed ridgelines and summits catch the strongest winds, which can strain tent poles and stakes well beyond their design limits.
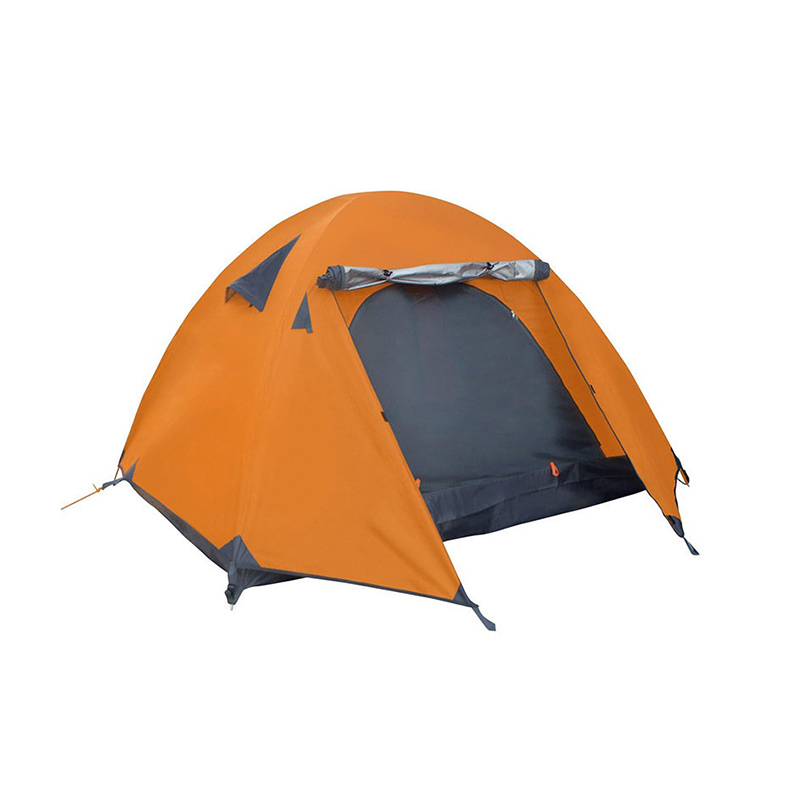
The ideal spot usually sits partway up a gentle slope, shielded by natural windbreaks such as boulders, dense shrubs, or a tree line — but never directly beneath large branches. Position the tent so its lowest, most aerodynamic side faces the prevailing wind direction, which reduces flapping and stress on the fabric and seams. If you're setting up a dome-style camping tent 2 person model, orienting the door away from the wind also keeps rain and gusts from blowing directly inside every time you enter or exit.
Pro Tip
Valley bottoms can be 5–10°F colder than mid-slope sites. Choose a spot partway up for better temperature and wind protection.
Sun exposure changes how comfortable your tent feels at both ends of the day. In warmer months, a site with afternoon shade prevents the tent interior from becoming an oven, especially for tents made with darker rainfly fabric. In cooler seasons, a spot that catches early morning sunlight helps dry off dew and condensation quickly and warms the tent faster after a cold night.
A useful trick is to face the tent door toward the east. This lets morning light in gently, helps burn off overnight moisture, and gives you a pleasant view if you're an early riser. Avoid pitching directly under isolated large trees, since they attract lightning during storms and can drop heavy branches — a hazard experienced campers call "widow makers."
Warning
Isolated tall trees attract lightning during storms and can drop heavy branches — always check overhead before pitching your tent.
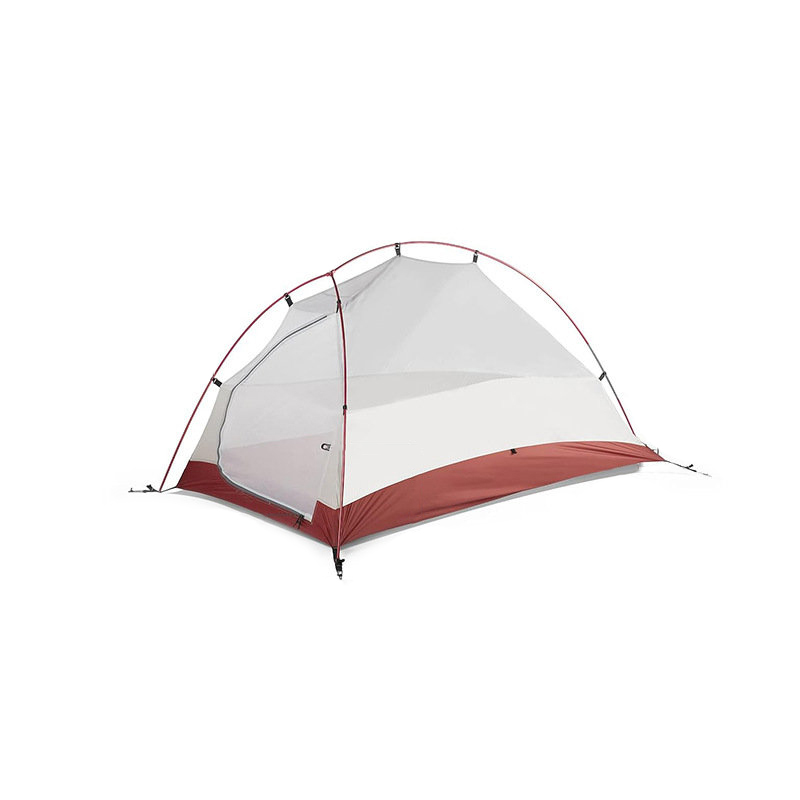
The physical footprint you need depends entirely on your tent size and style. A compact camping tent 2 person only needs roughly 35 to 45 square feet of clear ground, making it easier to fit into tight forest clearings or rocky outcrops where larger tents simply won't fit. Larger family or group tents, by contrast, need a wider, more open flat area, plus extra clearance for guy lines extending outward from each corner.
| Tent Type | Recommended Ground Space | Best Site Feature |
|---|---|---|
| Camping tent 2 person | 35–45 sq ft | Small level clearing, partial shade |
| Inflatable camping tent | 60–100 sq ft | Smooth, debris-free ground |
| Family or group tent | 120+ sq ft | Open flat area with wind block nearby |
If you're traveling with an inflatable camping tent, remember that setup relies on a pump rather than threading poles through sleeves, so you'll want a completely smooth, obstruction-free surface to unroll the tent fully before inflating. Uneven ground can cause the air beams to inflate unevenly, leading to a lopsided structure that's harder to stabilize.
A site can look perfect at first glance and still hide real risks. Before staking anything down, take five minutes to scan the surrounding area.
Taking this short walk-through before pitching your tent costs almost nothing in time but can prevent a genuinely dangerous night outdoors.
Danger
Dead branches overhead — "widow makers" — can fall without warning. Always look up before settling on a site.
Even the best-built shelter struggles against a poorly chosen site in bad weather. A genuinely waterproof camping tent with a high hydrostatic head rating — generally 1,500mm or higher for the floor — can resist heavy rain, but only if it's pitched on ground that doesn't pool water around the base. Combine quality gear with smart site selection rather than relying on either one alone.
Dig a shallow trench around the tent only if regulations allow it — many parks now discourage this due to erosion, so check local rules first. A better modern approach is choosing a slightly elevated, well-draining spot and using a footprint slightly smaller than the tent floor, so rainwater doesn't collect between the groundsheet and the tent base. Angle the rainfly so water sheds away from the entrance rather than pooling at the vestibule zipper.
Many public lands and organized campgrounds designate specific tent pads or zones, and camping outside these boundaries can result in fines or environmental damage. Always check whether the area requires a permit, has fire restrictions, or limits group size before arriving.
Where dispersed camping is legal, follow Leave No Trace guidance by choosing already-impacted ground rather than pristine vegetation. Camping on durable surfaces like existing bare dirt, gravel, or sand reduces long-term damage to plant life, and it often makes for a more level, predictable pitch anyway.
Best Practice
Camping on durable surfaces like bare dirt or gravel reduces environmental impact and usually provides a more level pitch.
Use this short checklist as a final pass before staking down your tent, whether it's a lightweight camping tent 2 person shelter or a larger group setup:
Choosing the right campsite location is less about finding a "perfect" spot and more about systematically ruling out the common problems: poor drainage, unstable ground, overhead hazards, and exposure to wind. Apply this checklist consistently, and whether you're pitching a compact two-person tent or a fully waterproof camping tent designed for family trips, you'll set yourself up for a dry, stable, and genuinely restful night outdoors.